


Nearly every coffee ruins its best flavors after only a few minutes of being ground, which is why professional coffee shops never pre-grind. In your kitchen, the right grinding technique makes a huge difference in the taste of your cup - whether you use a simple blade grinder or tech-y burr grinder. This convenient guide shows exactly what to do for your specific brewing process, turning a mundane morning ritual into one you'll look forward to.

Nano Portable Espresso Machine (Forest Green)
Coffee Grinder Essentials: Types, Instructions, and Grind Sizes
Take a moment to identify your equipment and choose the correct grind size before you grind your first batch of coffee beans. Correct preparation ensures consistent function and avoids fundamental mistakes that affect flavor.
Identify Your Coffee Grinder Type
Blade grinders utilize sharp, propeller-shaped blades that spin at high speeds to chop coffee beans into pieces. Blade grinders are cheap but lose consistency and grind size. Blade grinders utilize sharp, propeller-like blades that spin at high speeds to chop coffee into pieces. They are cheap but lose consistency and grind size.
Electric burr grinders consist of two rough metal or ceramic surfaces (burrs) that crush beans between them. When beans pass through these properly spaced burrs, they become ground into evenly sized particles. Having the adjustment to change burr distance means having exact grind size control, which makes the grinders ideal for coffee connoisseurs who need consistency.
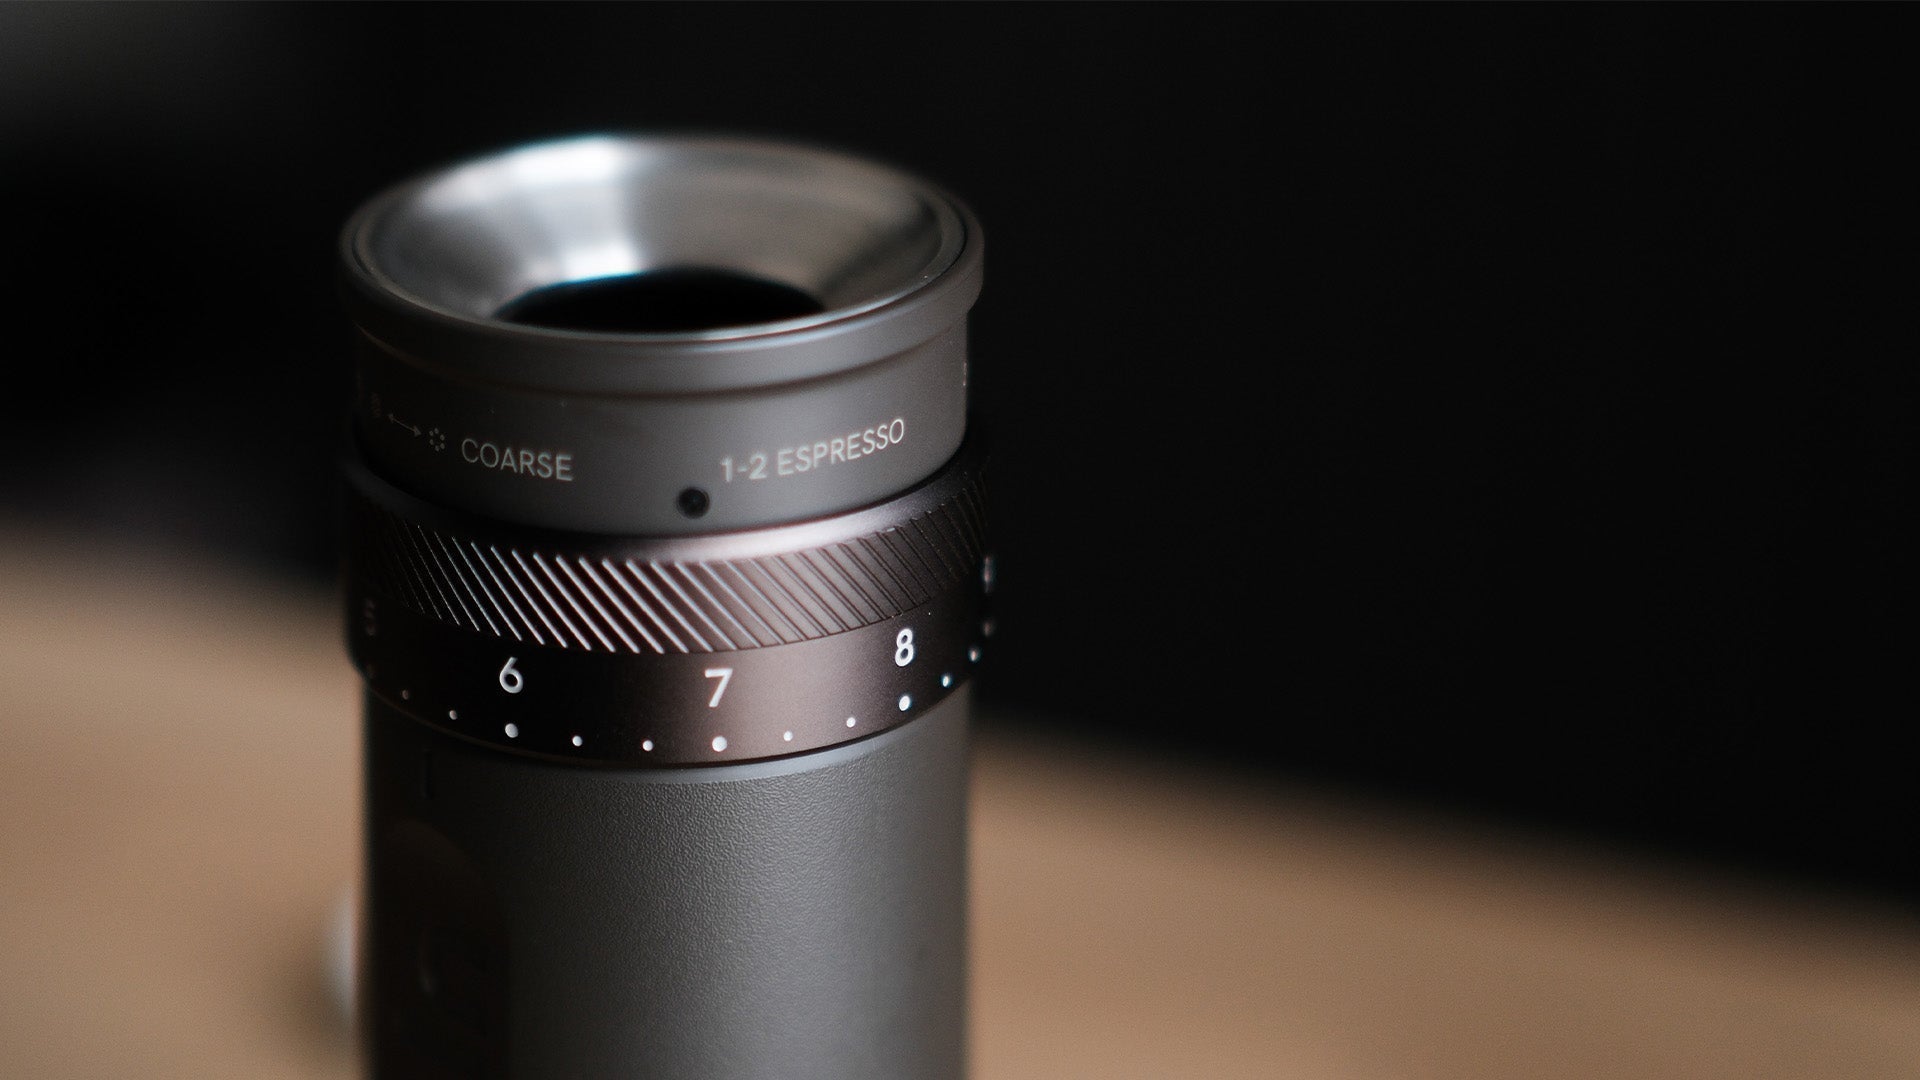
Hand grinders share the same technology as electric burr grinders but require human power. The hand crank pushes beans through the burrs. These small machines offer great portability for travel, camping, or being off the grid. Some coffee enthusiasts enjoy the sensory experience of the grinding process that they offer.

Read the Manufacturer's Instructions
Every grinder brand has distinguishing characteristics, maintenance tips, and ideal usage habits. The owner's manual includes vital details about your device, such as correct assembly, cleaning guidelines, and how to troubleshoot. Taking five minutes to read this information avoids issues and prolongs the life of your grinder.
Determine the Ideal Grind Size
The brewing method dictates the optimal grind size for proper extraction:
- Extra Coarse Grind (similar to peppercorns): Best for cold brew coffee, which steeps for 12-24 hours. The large particle size prevents over-extraction during long brewing times.
- Coarse Grind (resembling sea salt): Ideal for French press brewing. This size allows flavor extraction while being large enough for the metal mesh filter to separate from the liquid.
- Medium-Coarse Grind (like rough sand): Perfect for Chemex and other thick-filtered pour-over methods. This size balances the extraction rate with the flow speed.
- Medium Grind (similar to regular sand): Standard for flat-bottom drip coffee makers. This size provides optimal extraction with typical drip brewing times.
- Medium-Fine Grind (finer than sand but coarser than flour): Best for cone-shaped pour-over devices. The slightly finer grind compensates for the faster water flow through cone filters.
- Fine Grind (similar to table salt): Essential for espresso machines, where pressurized water passes quickly through coffee. The fine particles create necessary resistance for proper extraction.
- Extra Fine Grind (powdery like flour): Used for Turkish coffee, where grounds remain in the final beverage. This powder-like consistency allows full dissolution into the water.
Electric burr grinders typically feature numbered or labeled settings corresponding to different grind sizes. Consult your grinder's manual to understand what each setting represents. Blade grinders lack specific settings, requiring you to control grind size through grinding duration and visual assessment.
How to Use a Coffee Grinder Step by Step
The grinding process varies depending on what type of grinder you own. Each machine requires specific techniques to achieve optimal results, but mastering these steps transforms your coffee experience with noticeably better flavor and aroma.
For Blade Grinders
Step 1: Measure the Coffee Beans
Start with 1-2 tablespoons of whole beans per 6 ounces of water. For more precision, use a digital scale—aim for about 10-12 grams per cup.
Step 2: Pour Beans into the Grinding Chamber
Add your measured beans to the grinding chamber, filling it no more than halfway. Overfilling leads to uneven grinding and can strain the motor.
Step 3: Secure the Lid
Place the lid firmly on the grinder until you hear it click into place. This engages the safety lock that allows the grinder to operate.
Step 4: Pulse in Short Bursts
Press the button in 2-5 second pulses rather than holding it continuously. Between pulses, gently shake the grinder to redistribute the beans for more even grinding.
Step 5: Check the Grind Consistency
After every few pulses, inspect your grounds. For French press (coarse), aim for 5-7 pulses. Drip coffee (medium) needs 8-10 pulses, while pour-over (fine) requires 12-15 pulses.
Step 6: Remove and Use the Ground Coffee
Unplug the grinder, carefully open the lid, and transfer the grounds to your brewing device or container immediately.
For Electric Burr Grinders
Step 1: Measure the Coffee Beans
Measure 20-60 grams of beans, depending on how many cups you're making. Most burr grinders work best with enough beans for 1-4 cups at a time.
Step 2: Add Beans to the Hopper
Remove the hopper lid and pour in your measured beans. For maximum freshness, only add what you'll use immediately.
Step 3: Select the Grind Size Setting
Adjust the grind selector to match your brewing method. Lower numbers (1-5) produce finer grounds for espresso, middle settings (15-25) work for drip coffee, and higher settings (30-40) create coarser grounds for French press.
Step 4: Set Time or Quantity (If Available)
If your grinder has programming features, set the grinding duration or coffee amount according to your needs—typically 20-30 seconds for a standard pot.
Step 5: Start the Grinder
Press the start button and let the machine complete its cycle without interruption for consistent results.
Step 6: Collect the Ground Coffee
When grinding stops, remove the grounds container and tap it gently to settle any clinging grounds before pouring them into your brewing device.

For Manual Burr Grinders
Step 1: Measure the Coffee Beans
Measure 15-30 grams of beans, enough for 1-2 cups. Manual grinders have limited capacity, and overloading makes grinding difficult.
Step 2: Add Beans to the Grinding Chamber
Open the top section or remove the crank to access the bean chamber. Pour in your measured beans up to the fill line.
Step 3: Adjust the Grind Setting
Find the adjustment mechanism (typically a dial or nut) and turn it clockwise for finer grounds or counterclockwise for coarser settings.
Step 4: Attach the Handle
Connect the hand crank firmly to the top of the grinder, ensuring it engages properly with the center axle.
Step 5: Grind the Beans
Hold the grinder body with one hand and turn the handle clockwise with the other. Maintain a steady, moderate pace for 1-3 minutes until resistance decreases.
Step 6: Collect the Ground Coffee
Unscrew or open the collection chamber at the bottom and pour the freshly ground coffee directly into your brewing device.

OutIn Fino Portable Electric Coffee Grinder
Important Considerations for Coffee Grinding
Proper grinding habits extend beyond the basic steps. These key practices protect your equipment, ensure consistent flavor, and enhance your overall coffee experience.
Grind Only What You Need
Coffee degrades rapidly in a few minutes after being ground. Beans that are exposed while they break down have increased surface area to the air and therefore degrade faster. Try to use ground coffee within 15 minutes for the best flavor. Refrigerate leftovers in an airtight container if you happen to have some, but tomorrow's cup will not be the same.
Experiment with Grind Settings
Suggested grind sizes are merely a starting point. Each coffee and brewing device is different, so adjust to taste. If your coffee is bitter or harsh, grind a little more coarsely. If it's weak or sour, grind a little finer. Incremental adjustments each time until you like it.
Separate Your Flavored Coffees
Residue oils from flavored beans in your grinder are hard to completely clean out. The oils will transfer and taste like plain coffee you grind later. If you both enjoy flavored and plain coffee, you may want to have a different grinder for flavored beans. If not possible, clean your grinder thoroughly between uses with grinder cleaning pellets.
Keep Liquids Away from Electric Grinders
Electric grinders and water do not go together. Water will rot the motor, short circuit, or rust the machine. Never ever wash electric grinders with water unless your manual says that it's fine to do so. Instead, wipe them with a dry brush or cloth to get rid of coffee grounds.
Unplug Electric Grinders Before Cleaning
Always switch off the electric grinders from the power when cleaning. This prevents accidental start-up when your hands are near moving parts. In the case of blade grinders, exercise care near cutting blades. Clean around blades with a brush rather than your fingers, and never insert metal utensils that could damage the blades or create metal shavings.

Grind Your Way to Better Coffee!
Whatever your blade, electric burr, or hand grinder, following the right procedure for your equipment and brewing style assures improved results. Don't overlook the basics: measure accurately, apply the correct grind size, and regularly clean your grinder. Grind just what you'll use immediately, keep flavored coffees separated, and never be careless when cleaning. These simple habits will make your coffee taste better and your grinder last longer—a small hassle for a much improved coffee experience.
Leave a comment
This site is protected by hCaptcha and the hCaptcha Privacy Policy and Terms of Service apply.